131 lines
8.6 KiB
Markdown
131 lines
8.6 KiB
Markdown
# OTA Example
|
||
|
||
**Notes:** *This guide is common for all ota examples*
|
||
|
||
## Overview
|
||
|
||
ESP32 application can do upgrading at runtime by downloading new image from specific server through Wi-Fi or Ethernet and then flash it into some partitions. There’re two ways in ESP-IDF to perform Over The Air (OTA) upgrading:
|
||
|
||
- Using the native APIs provided by `app_update` component.
|
||
- Using simplified APIs provided by `esp_https_ota` component, which adds an abstraction layer over the native OTA APIs in order to upgrading with HTTPS protocol.
|
||
|
||
Both methods are demonstrated in OTA Demos under `native_ota_example` and `simple_ota_example` respectively.
|
||
|
||
For simplicity, the OTA examples choose the pre-defined partition table by enabling `CONFIG_PARTITION_TABLE_TWO_OTA` option in menuconfig, which supports three app partitions: factory, OTA_0 and OTA_1. For more information about partition table, please refer to [Partition Tables](https://docs.espressif.com/projects/esp-idf/en/latest/api-guides/partition-tables.html).
|
||
|
||
On first boot, the bootloader will load the factory app image (i.e. the example image) and then triggers an OTA upgrading. It will download a new image from HTTPS server and save it into the OTA_0 partition. It will update the ota_data partition automatically as well to indicate which app should boot from in the next reset. The bootloader will read the content in ota_data partition and run the selected application.
|
||
|
||
The OTA workflow can be demonstrated as in the following diagram:
|
||
|
||

|
||
|
||
## How to use the examples
|
||
|
||
### Hardware Required
|
||
|
||
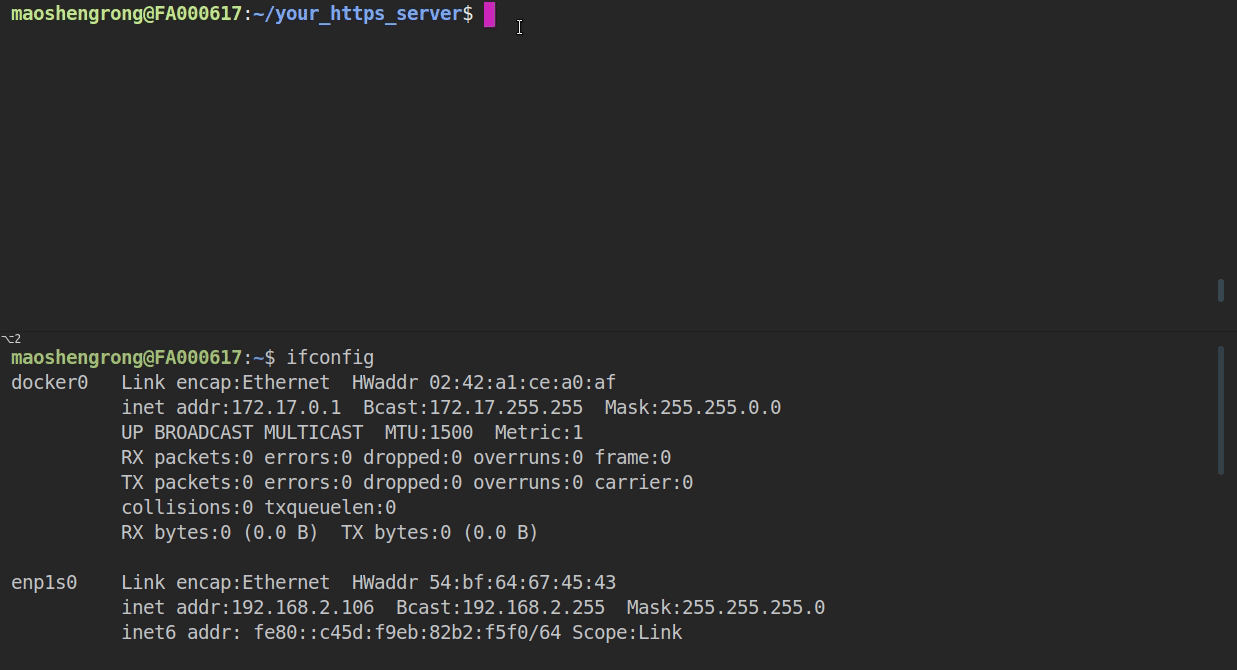
To run the OTA examples, you need an ESP32 dev board (e.g. ESP32-WROVER Kit) or ESP32 core board (e.g. ESP32-DevKitC). If you want to test the OTA with Ethernet, make sure your board has set up the Ethernet correctly. For extra information about setting up Ethernet, please refer to Ethernet examples.
|
||
|
||
### Configure the project
|
||
|
||
Open the project configuration menu (`idf.py menuconfig`).
|
||
|
||
In the `Example Connection Configuration` menu:
|
||
|
||
* Choose the network interface in `Connect using` option based on your board. Currently we support both Wi-Fi and Ethernet.
|
||
* If you have selected the Wi-Fi interface, you also have to set:
|
||
* Wi-Fi SSID and Wi-Fi password that your ESP32 will connect to
|
||
* If you have selected the Ethernet interface, you also have to:
|
||
* Set PHY model under `Ethernet PHY Device` option, e.g. IP101.
|
||
|
||
In the `Example Configuration` menu:
|
||
|
||
* Set the URL of the new firmware that you will download from in the `Firmware Upgrade URL` option, whose format should be `https://<host-ip-address>:<host-port>/<firmware-image-filename>`, e.g. `https://192.168.2.106:8070/hello-world.bin`
|
||
* **Notes:** The server part of this URL (e.g. `192.168.2.106`) must match the **CN** field used when [generating the certificate and key](#run-https-server).
|
||
|
||
### Build and Flash
|
||
|
||
Run `idf.py -p PORT flash monitor` to build and flash the project.. This command will find if partition table has ota_data partition (as in our case) then ota_data will erase to initial. It allows to run the newly loaded app from a factory partition.
|
||
|
||
(To exit the serial monitor, type ``Ctrl-]``.)
|
||
|
||
See the [Getting Started Guide](https://docs.espressif.com/projects/esp-idf/en/latest/get-started/index.html) for full steps to configure and use ESP-IDF to build projects.
|
||
|
||
## Example Output
|
||
|
||
### Run HTTPS Server
|
||
|
||
After a successful build, we need to create a self-signed certificate and run a simple HTTPS server as follows:
|
||
|
||
|
||
|
||
* Enter a directory where holds the root of the HTTPS server, e.g. `cd build`.
|
||
* To create a new self-signed certificate and key, you can simply run command `openssl req -x509 -newkey rsa:2048 -keyout ca_key.pem -out ca_cert.pem -days 365 -nodes`.
|
||
* When prompted for the `Common Name (CN)`, enter the name of the server that the ESP32 will connect to. Regarding this example, it is probably the IP address. The HTTPS client will make sure that the `CN` matches the address given in the HTTPS URL.
|
||
* To start the HTTPS server, you can simply run command `openssl s_server -WWW -key ca_key.pem -cert ca_cert.pem -port 8070`.
|
||
* In the same directory, there should be the firmware (e.g. hello-world.bin) that ESP32 will download later. It can be any other ESP-IDF application as well, as long as you also update the `Firmware Upgrade URL` in the menuconfig. The only difference is that when flashed via serial the binary is flashed to the "factory" app partition, and an OTA update flashes to an OTA app partition.
|
||
* **Notes:** If you have any firewall software running that will block incoming access to port *8070*, configure it to allow access while running the example.
|
||
* **Notes:** For Windows users, you should add `winpty` before `openssl` command:
|
||
* `winpty openssl req -x509 -newkey rsa:2048 -keyout ca_key.pem -out ca_cert.pem -days 365 -nodes`
|
||
* `winpty openssl s_server -WWW -key ca_key.pem -cert ca_cert.pem -port 8070`
|
||
|
||
### Flash Certificate to ESP32
|
||
|
||
Before you flash the example, make sure to copy the generated certificate to `server_certs` directory inside OTA example directory so that it can be flashed into ESP32 together with the firmware, e.g. `cp ca_cert.pem ../server_certs/`.
|
||
|
||
```
|
||
cp ca_cert.pem /path/to/ota/example/server_certs/
|
||
```
|
||
|
||
### Internal workflow of the OTA Example
|
||
|
||
When the example starts up, it will print "Starting OTA example" to the console and then:
|
||
|
||
1. Connect to the AP with configured SSID and Password (Wi-Fi case) or just by Ethernet.
|
||
2. Connect to the HTTPS server and download the new image.
|
||
3. Write the image to flash, and configure the next boot from this image.
|
||
4. Reboot
|
||
|
||
If you want to rollback to factory app (or the first OTA partition when the factory partition do not exist) after the upgrade, then run the command `idf.py erase_otadata`. It can erase the ota_data partition to initial state.
|
||
|
||
**Notes:** This assumes that the partition table of this project is the one that is on the device.
|
||
|
||
### Output from HTTPS server
|
||
|
||
```bash
|
||
FILE:hello-world.bin
|
||
ACCEPT
|
||
```
|
||
|
||
|
||
## Support rollback
|
||
|
||
This feature allows you to roll back to the previous firmware if the app is not operable. Option `CONFIG_BOOTLOADER_APP_ROLLBACK_ENABLE` allows you to track the first boot of the application (see the ``Over The Air Updates (OTA)`` article).
|
||
For ``native_ota_example``, added a bit of code to demonstrate how a rollback works. To use it, you need enable the `CONFIG_BOOTLOADER_APP_ROLLBACK_ENABLE` option in menuconfig and under the "Example Configuration" submenu to set "Number of the GPIO input for diagnostic" to manage the rollback process.
|
||
|
||
To trigger a rollback, this GPIO must be pulled low while the message `Diagnostics (5 sec)...` which will be on first boot.
|
||
If GPIO is not pulled low then the operable of the app will be confirmed.
|
||
|
||
## Support the version of application
|
||
|
||
For ``native_ota_example``, code has been added to demonstrate how to check the version of the application and prevent infinite firmware updates. Only the application with the new version can be downloaded. Version checking is performed after the very first firmware image package has been received, which contains data about the firmware version. The application version can be taken from three places:
|
||
|
||
1. If ``PROJECT_VER`` variable set in project Cmake/Makefile file, its value will be used.
|
||
2. Else, if the ``$PROJECT_PATH/version.txt`` exists, its contents will be used as ``PROJECT_VER``.
|
||
3. Else, if the project is located inside a Git repository, the output of ``git describe`` will be used.
|
||
4. Otherwise, ``PROJECT_VER`` will be "1".
|
||
|
||
In ``native_ota_example``, ``$PROJECT_PATH/version.txt`` is used to define the version of app. Change the version in the file to compile the new firmware.
|
||
|
||
## Troubleshooting
|
||
|
||
* Check your PC can ping the ESP32 at its IP, and that the IP, AP and other configuration settings are correct in menuconfig.
|
||
* Check if any firewall software is preventing incoming connections on the PC.
|
||
* Check whether you can see the configured file (default hello-world.bin), by checking the output of the command `curl -v https://<host-ip-address>:<host-port>/<firmware-image-filename>`
|
||
* If you have another PC or a phone, try viewing the file listing from the separate host.
|
||
|
||
### Error "ota_begin error err=0x104"
|
||
|
||
If you see this error then check that the configured (and actual) flash size is large enough for the partitions in the partition table. The default "two OTA slots" partition table only works with 4MB flash size. To use OTA with smaller flash sizes, create a custom partition table CSV (look in components/partition_table) and configure it in menuconfig.
|
||
|
||
If changing partition layout, it is usually wise to run "idf.py erase_flash" between steps.
|